Seasonal decor is so eye-catching in the store, but each piece only has a moment to shine before it gets stuffed into a box for 9 months. As someone who likes to keep things simple, I wanted to create a wreath for my front door that could stay up year-round but still represent each season. In addition to making my own wreath, I decided to create seasonal attachments that show off my personality and style, while taking up minimal storage space. In this blog post I’ll dive into the details of how I created a reusable seasonal wreath.
Creating My Wreath

I did not have a wreath for my front door, so I decided to make one. I chose this tutorial from Our Little Nook because I already had a lot of the materials in my craft drawer. The only item I had to buy was the frame for the wreath. One downside to using felt is that it is not a weather resistant material, but if you have a covered front door you can expect minimal damage. Since I wanted my seasonal wreath to be reusable, I chose shades of green that would match through out the year. I really like how my wreath turned out and think it could stand out on it’s own.
Materials
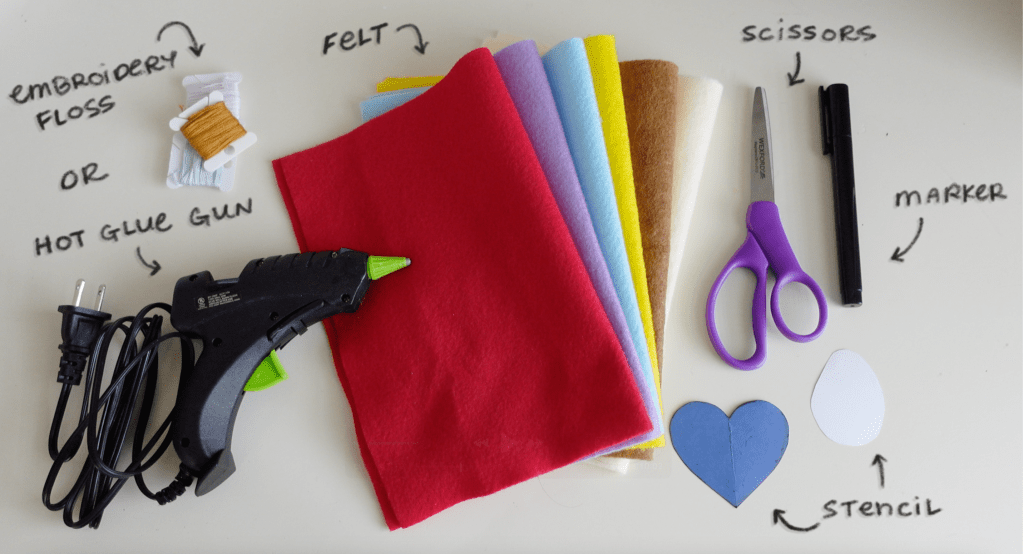
- Felt – use any colors you want! For each set of attachments I only used one sheet of felt.
- Embroidery floss – I prefer a hand sewn look, but you can also use hot glue if you prefer that.
- Sewing Needle
- Pins – I found that the easiest way to attach items to my wreath was to use pins. I used 1″ bar pins, but I think butterfly pins could also work well if you use hot glue.
- Poly-fil – or an eco-friendly alternative. You can leave this off if you don’t want puffy attachments.
- Stencil – I made stencils out of paper to trace my designs and keep everything uniform
- Scissors
Attachments for Valentine’s Day
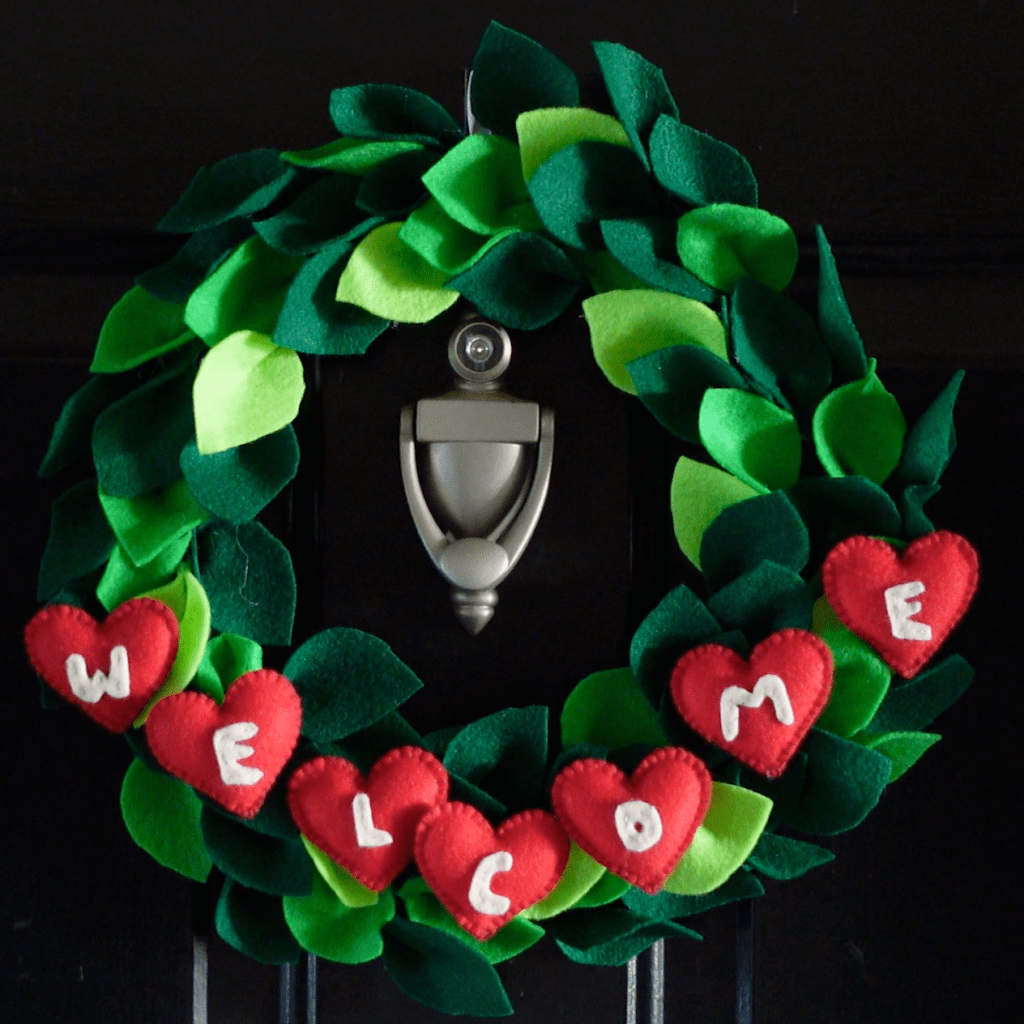
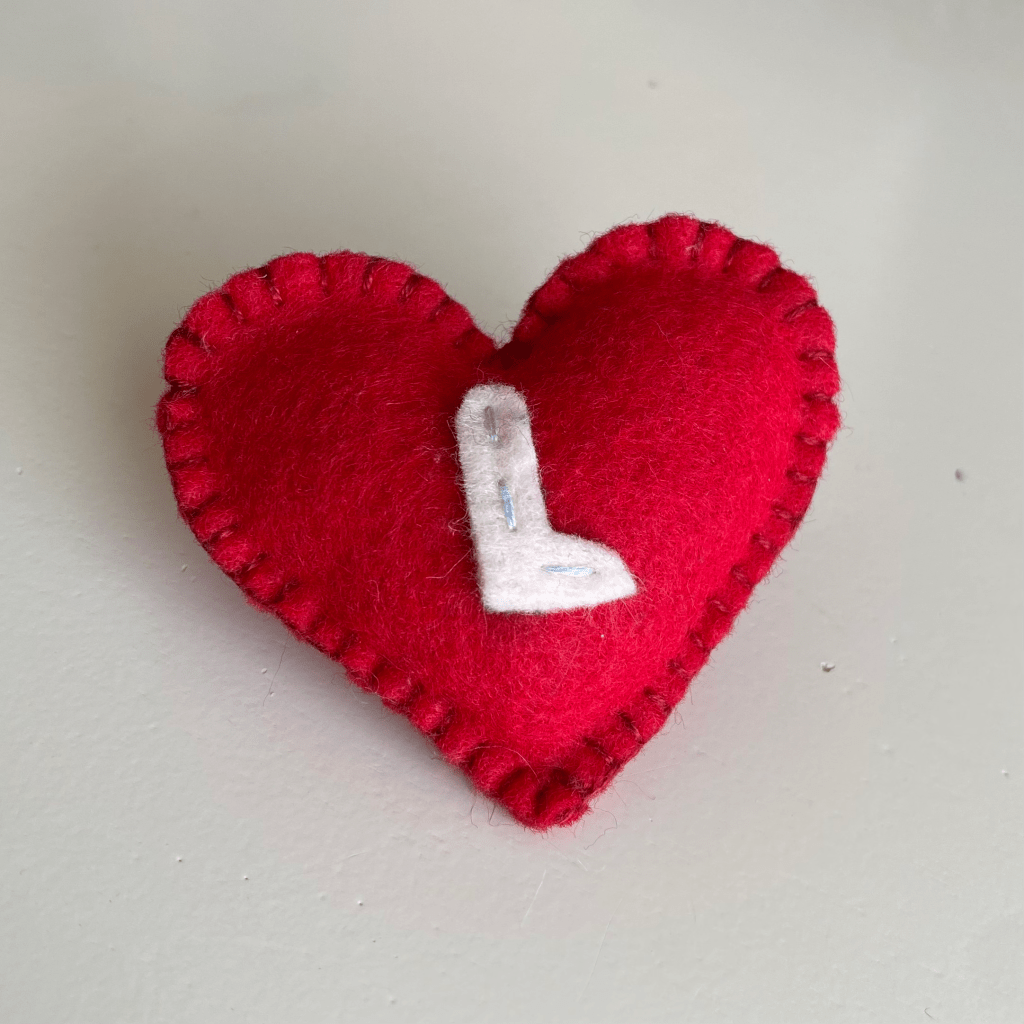
I originally created these heart shape attachments with the intention of using them for valentine’s day, but I actually think they could be used any time of year if hearts are part of your aesthetic. The process for creating these was pretty simple. I sewed little letters to the front of the hearts to spell out WELCOME. I used a blanket stitch to sew two hearts together and stuffed them with poly-fill to give the attachment more dimension.
Attachments for Spring/Easter
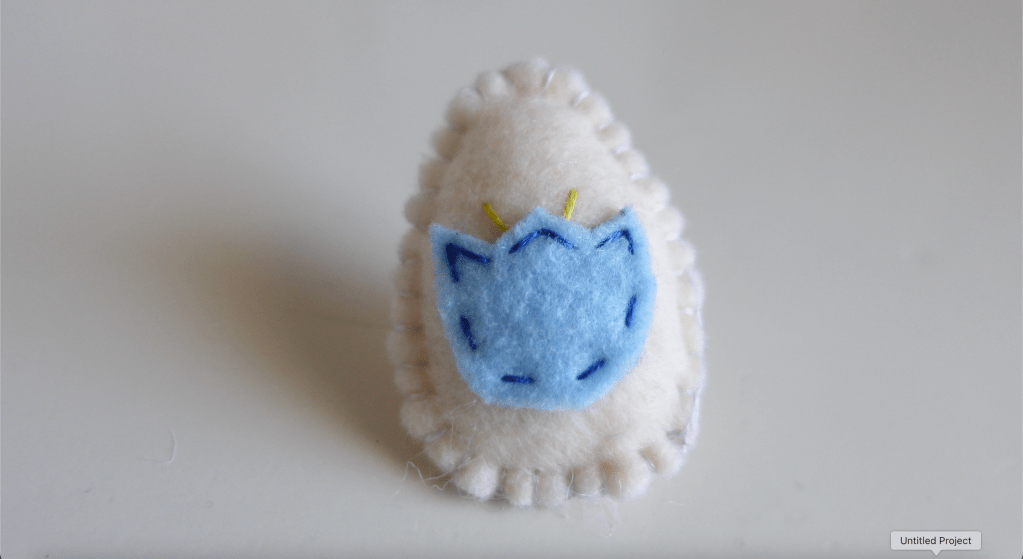
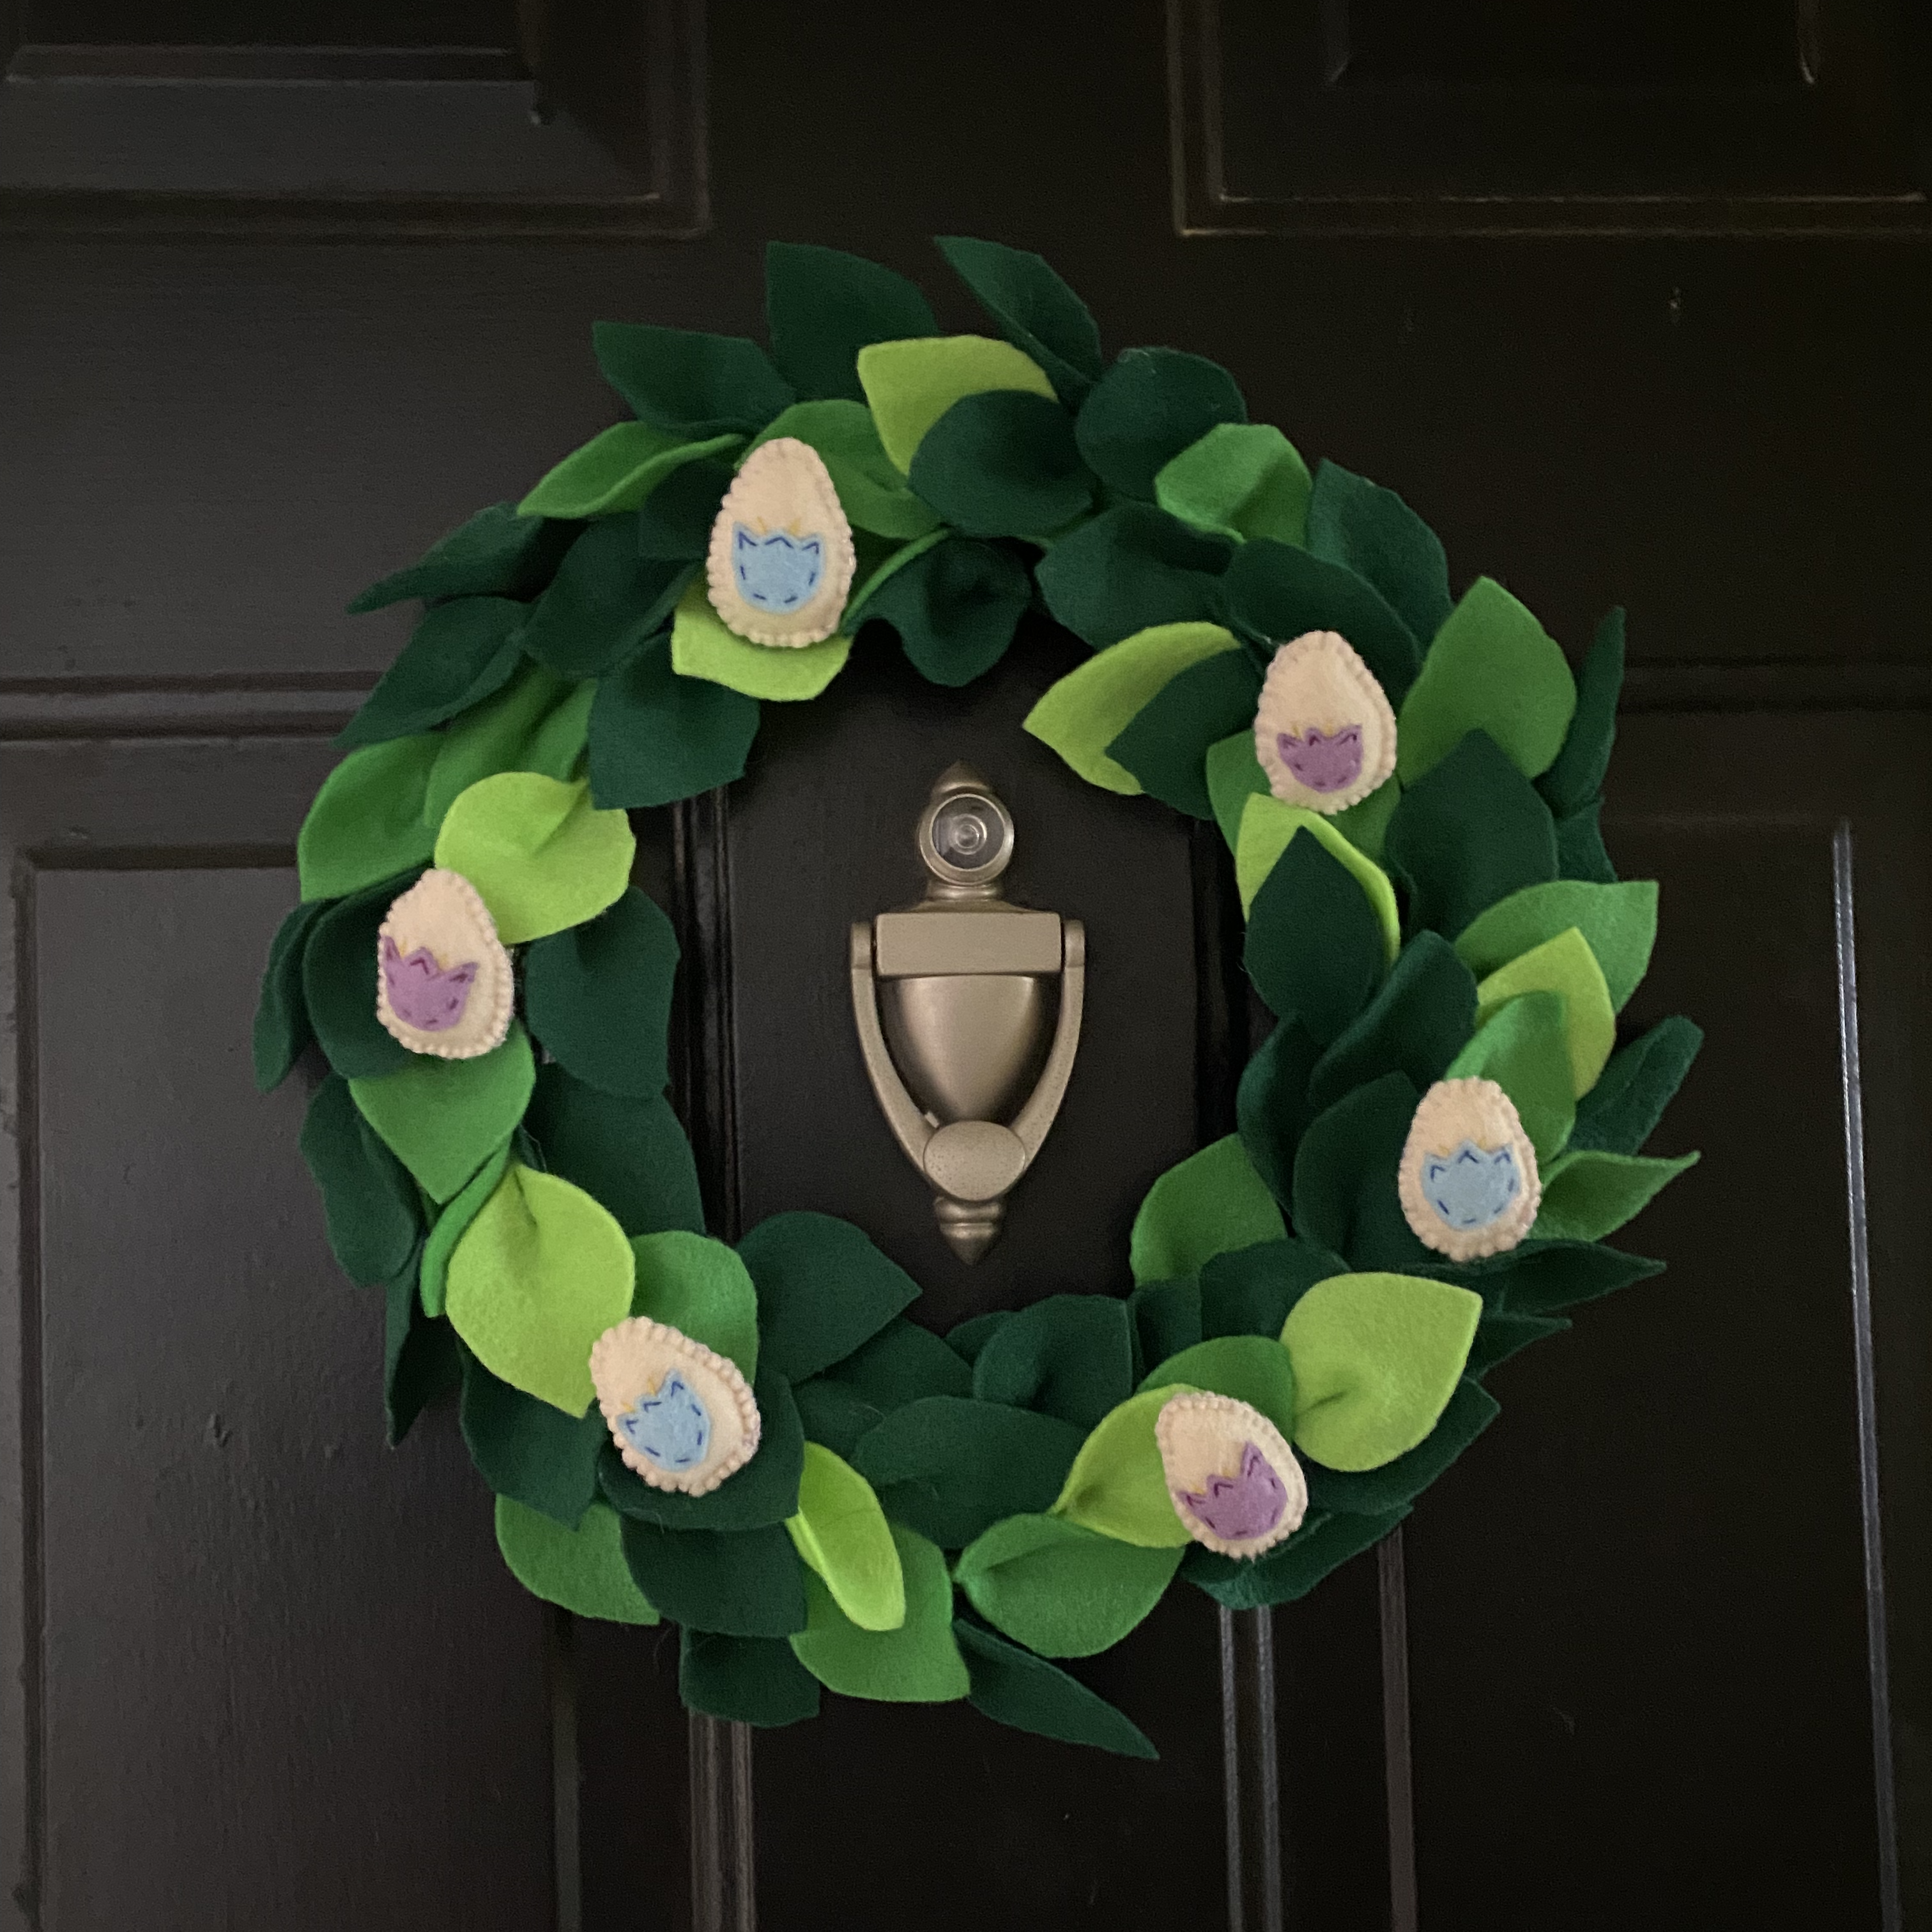

Initially I was going to make two different types of attachments for spring and easter, but then I realized that I could combine them. My design incorporates eggs and tulips to add color to my wreath. To create the eggs, I used almost the exact same method I used for the hearts. For an in-depth tutorial, check out the video linked below. The eggs did come out a little smaller than I had envisioned, but I like that I can add more to my wreath later.
In Conclusion
The best thing about creating these attachements is that they have so many decorative uses beyond my front door. I’m looking forward to using them for years to come and hopefully adding more to my collection in the future.
I hope this post inspires you to create your own seasonal wreath! To watch me create my easter/spring attachments, check out the video on my YouTube Channel!

Leave a comment