
Something I realized about myself soon after I graduated college was that I had a fear of hanging things on the wall. Nailing something to the wall felt permanent, and when I was used to the college lifestyle of moving apartments pretty much every year, I avoided any permanent changes. I’ve since grown out of this fear and even though I still live in an apartment, I’m okay with a few nail holes. (I finally understand that it takes minimal effort to refill and paint over them lol). I had a growing pile of artwork collected over the years and a big blank wall in my office so I thought, why not try creating a gallery wall?
I watched tons of videos on youtube of others making museum quality gallery walls so I felt pretty well equipped for the task. I knew mine probably wasn’t going to be super aesthetic, but I did have a little hope.
Choosing a Method
When creating my gallery wall, I decided to use the paper stencil method. This method made it easy to visualize the layout on the wall without using any fancy equipment or nailing anything in. It was a bit tedious to trace and cut out a template for every art piece, but I think I only felt that way because I wasn’t listening to any music while I did it. Music makes everything feel more fun.
Alternatives to this method would be using a projector, buying a gallery wall kit, or totally winging it if you’re crazy and spontaneous like that.
Materials
- Paper – I used brown packing paper since it is more durable. If you don’t want to buy a roll of paper you could use old newspaper or any other scrap paper that matches the size of your pieces.
- Scissors
- Nails – regular nails worked well for canvases and smaller art pieces. I also used wall mounts/hooks for some of the larger, heavier artwork
- Hammer
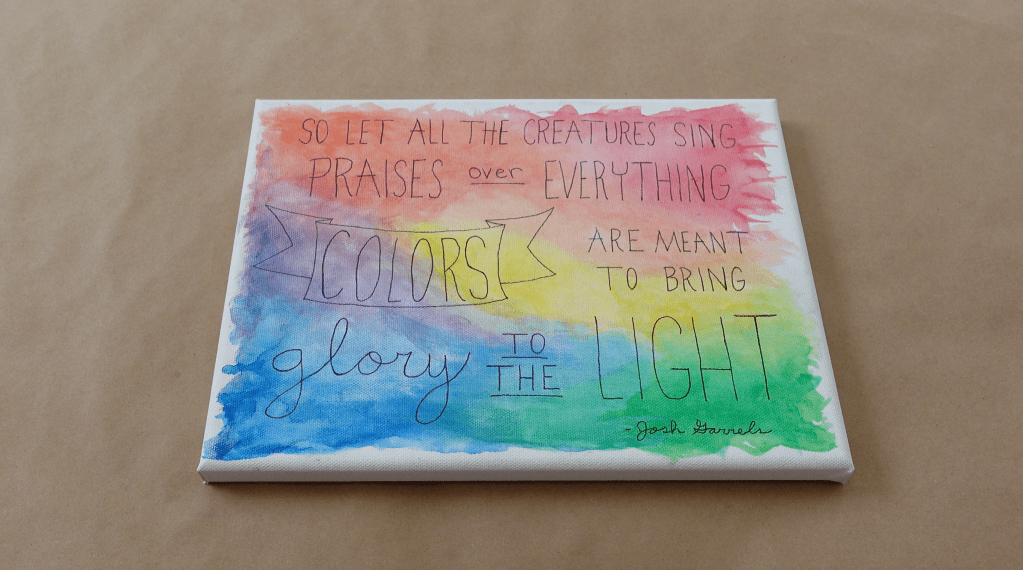
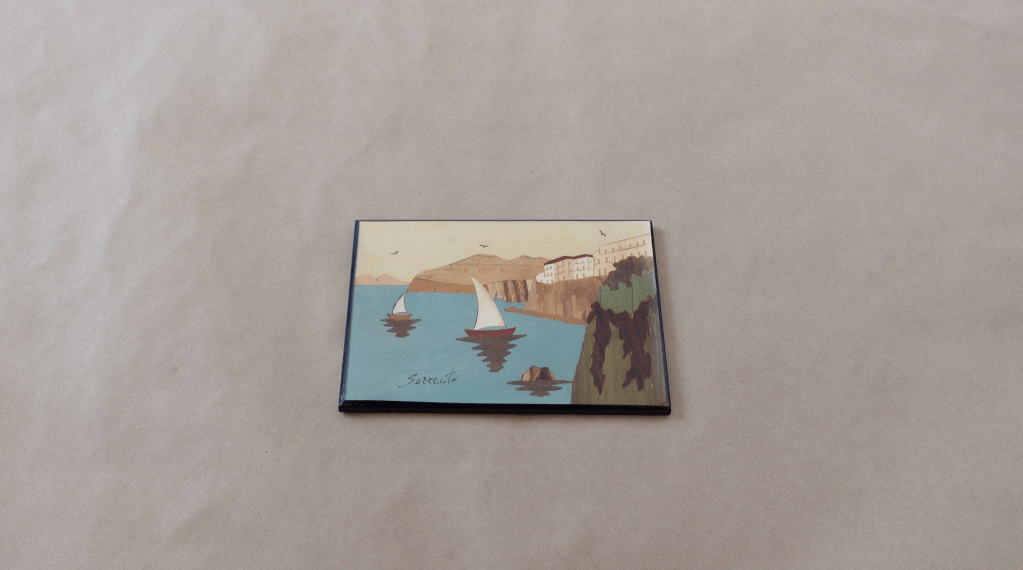
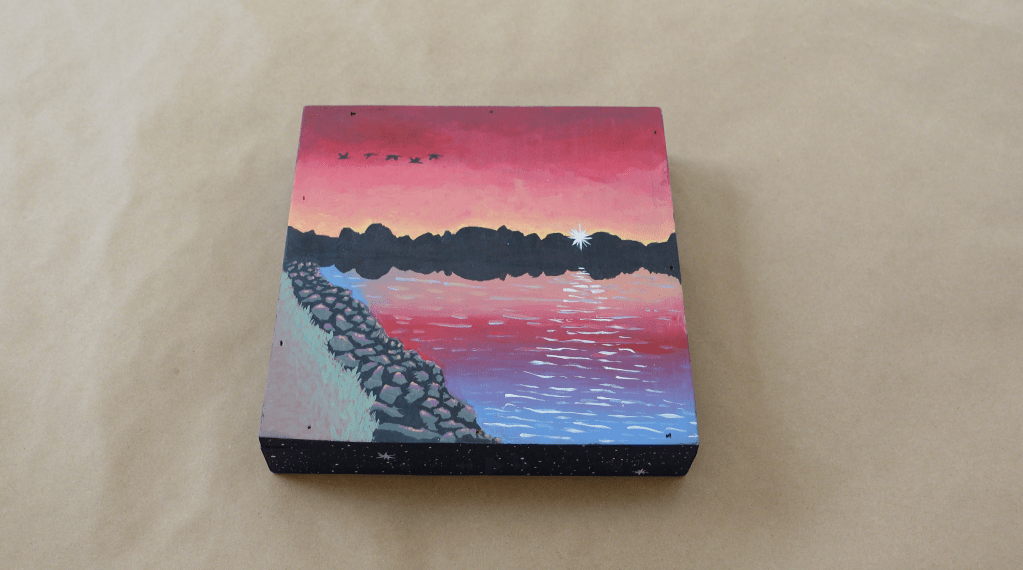
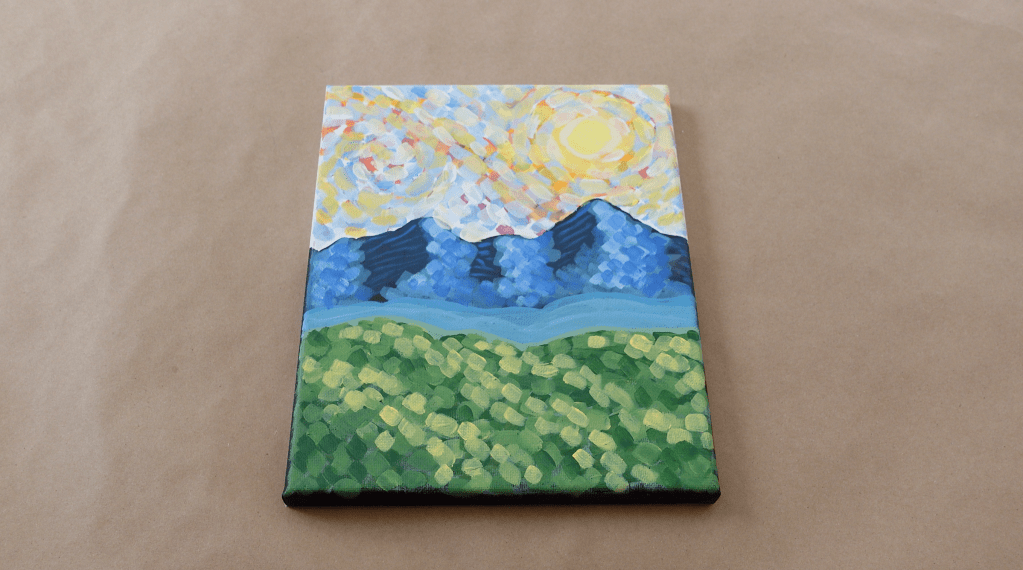
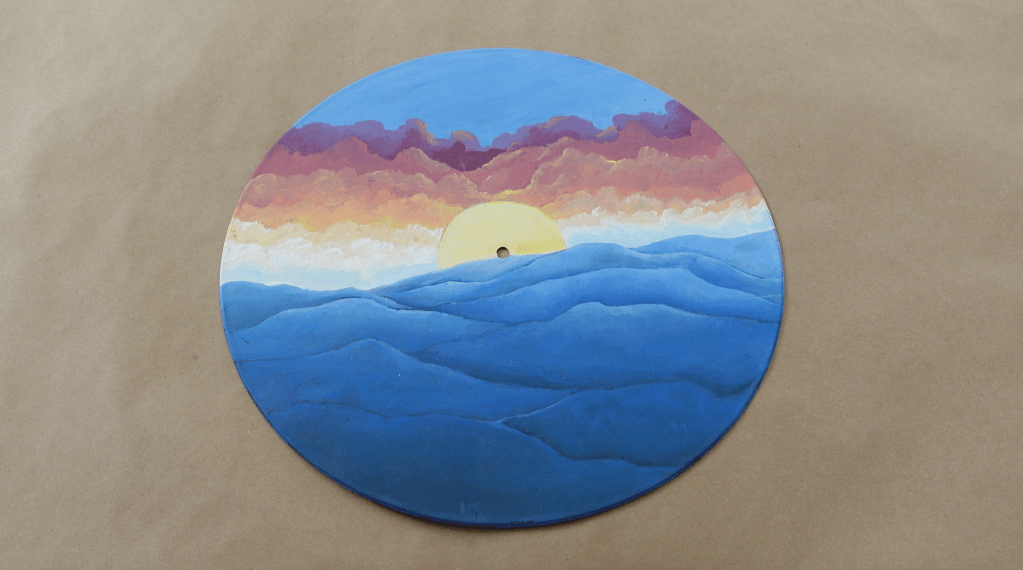
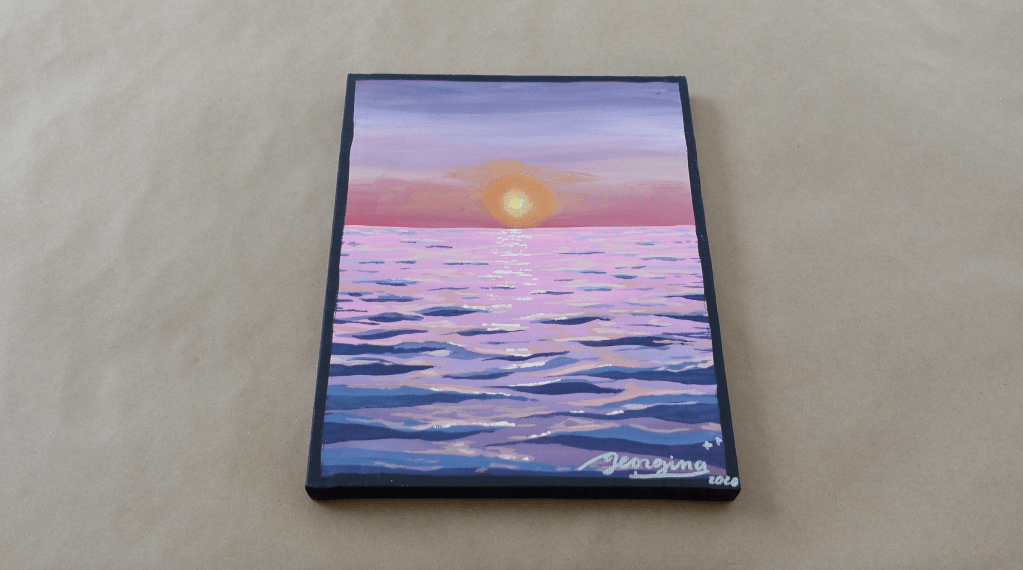
- Artwork/Pictures – I used artwork that I already had, most of which I created myself. I only hung one photo, sort of as a placeholder since most of my artwork is the same size, but I would like to add more photos later.
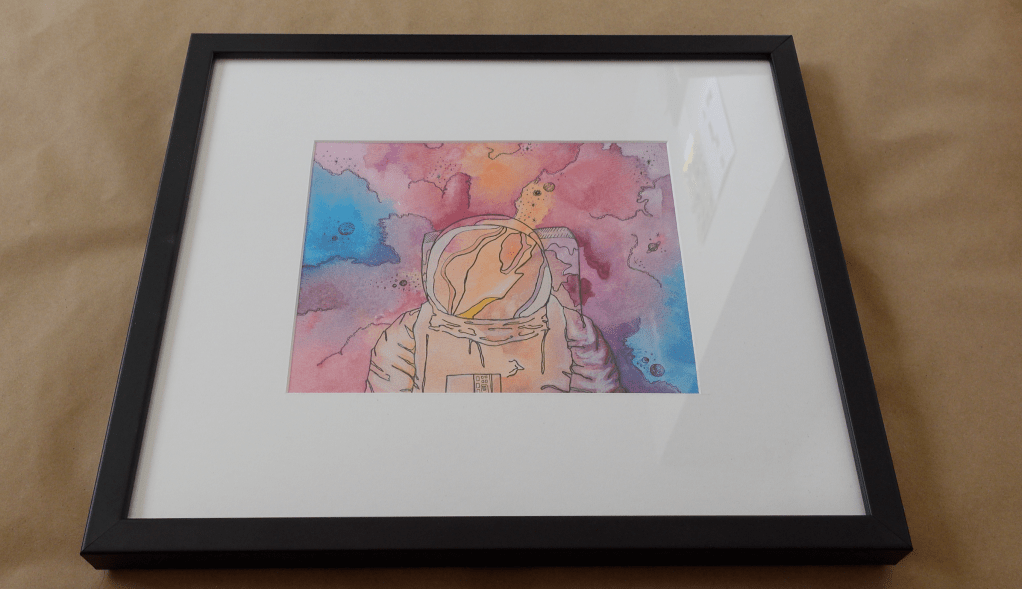
- Frames – I didn’t frame canvases since you can hang them on the wall as is. I got two flat pieces framed at Micheals for this project. The remaining pieces were already framed.
- Masking Tape – I should have used painters tape to secure the paper to the wall while I was trying to figure out the layout, but I used regular scotch tape. I do NOT recommend this because it is difficult to remove and makes it really hard to shift things around on the wall. Use painters tape lol.
Putting it all Together
To make my gallery wall cohesive I tried to stick with artwork and frames that had similar colors. I kept variety by using pieces with range of sizes and frames with different thickness.


I started by creating a layout on the floor to determine which pieces I should use. I measured the length of the wall where I would be hanging everything with a measuring tape and lay that on the floor as well so my spacing on the floor was realistic to the spacing on the wall. This kind of worked, but I did end up doing more shifting once the layout was transferred to the wall. Once I liked the layout I had on the floor I snapped a picture for reference.

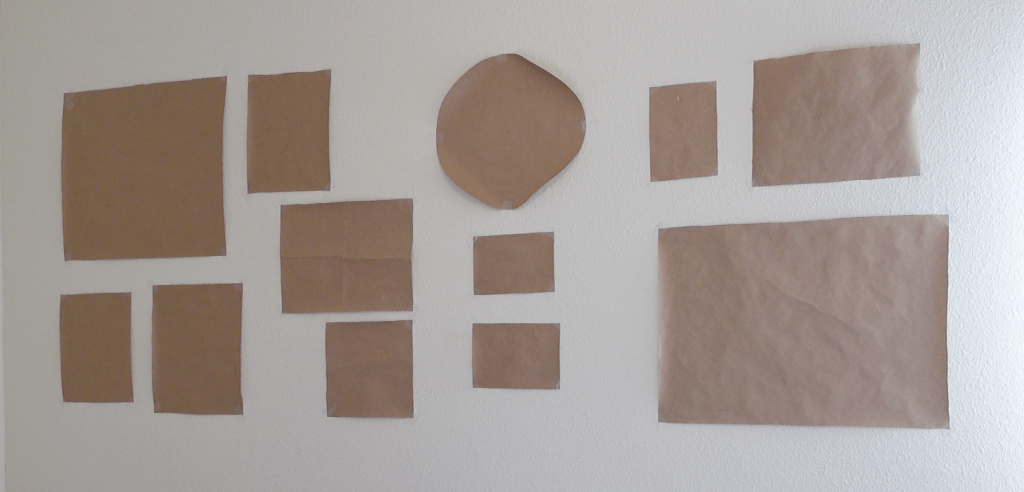
After the floor layout was complete, I moved to making the stencils. I rolled out my paper and traced each piece. I labeled each piece before I cut them out so I wouldn’t get confused later. After every piece had been traced I cut them all out and made a mark where the nails should go. Since each piece has a different type of back I found this step crucial to ensuring that everything hung the way I wanted it to.
After all the marking was done, I taped the paper stencils to the wall, using my reference photo as a guide. At this point I freaked out a little because the layout looked different on the wall than it had on my floor. I think this was mainly because it was all brown paper and I couldn’t see the dimension added by the frame thickness and matting. I did a little tweaking and got a second opinion from my husband before I started putting the nails in.
I used the markings I had drawn previously to nail everything in. I then hung each piece of art over the stencil to make sure it lined up how I wanted. Once I was sure everything was in the right place, I took all the artwork down, removed the paper and tape and hung everything back up.
Final Result
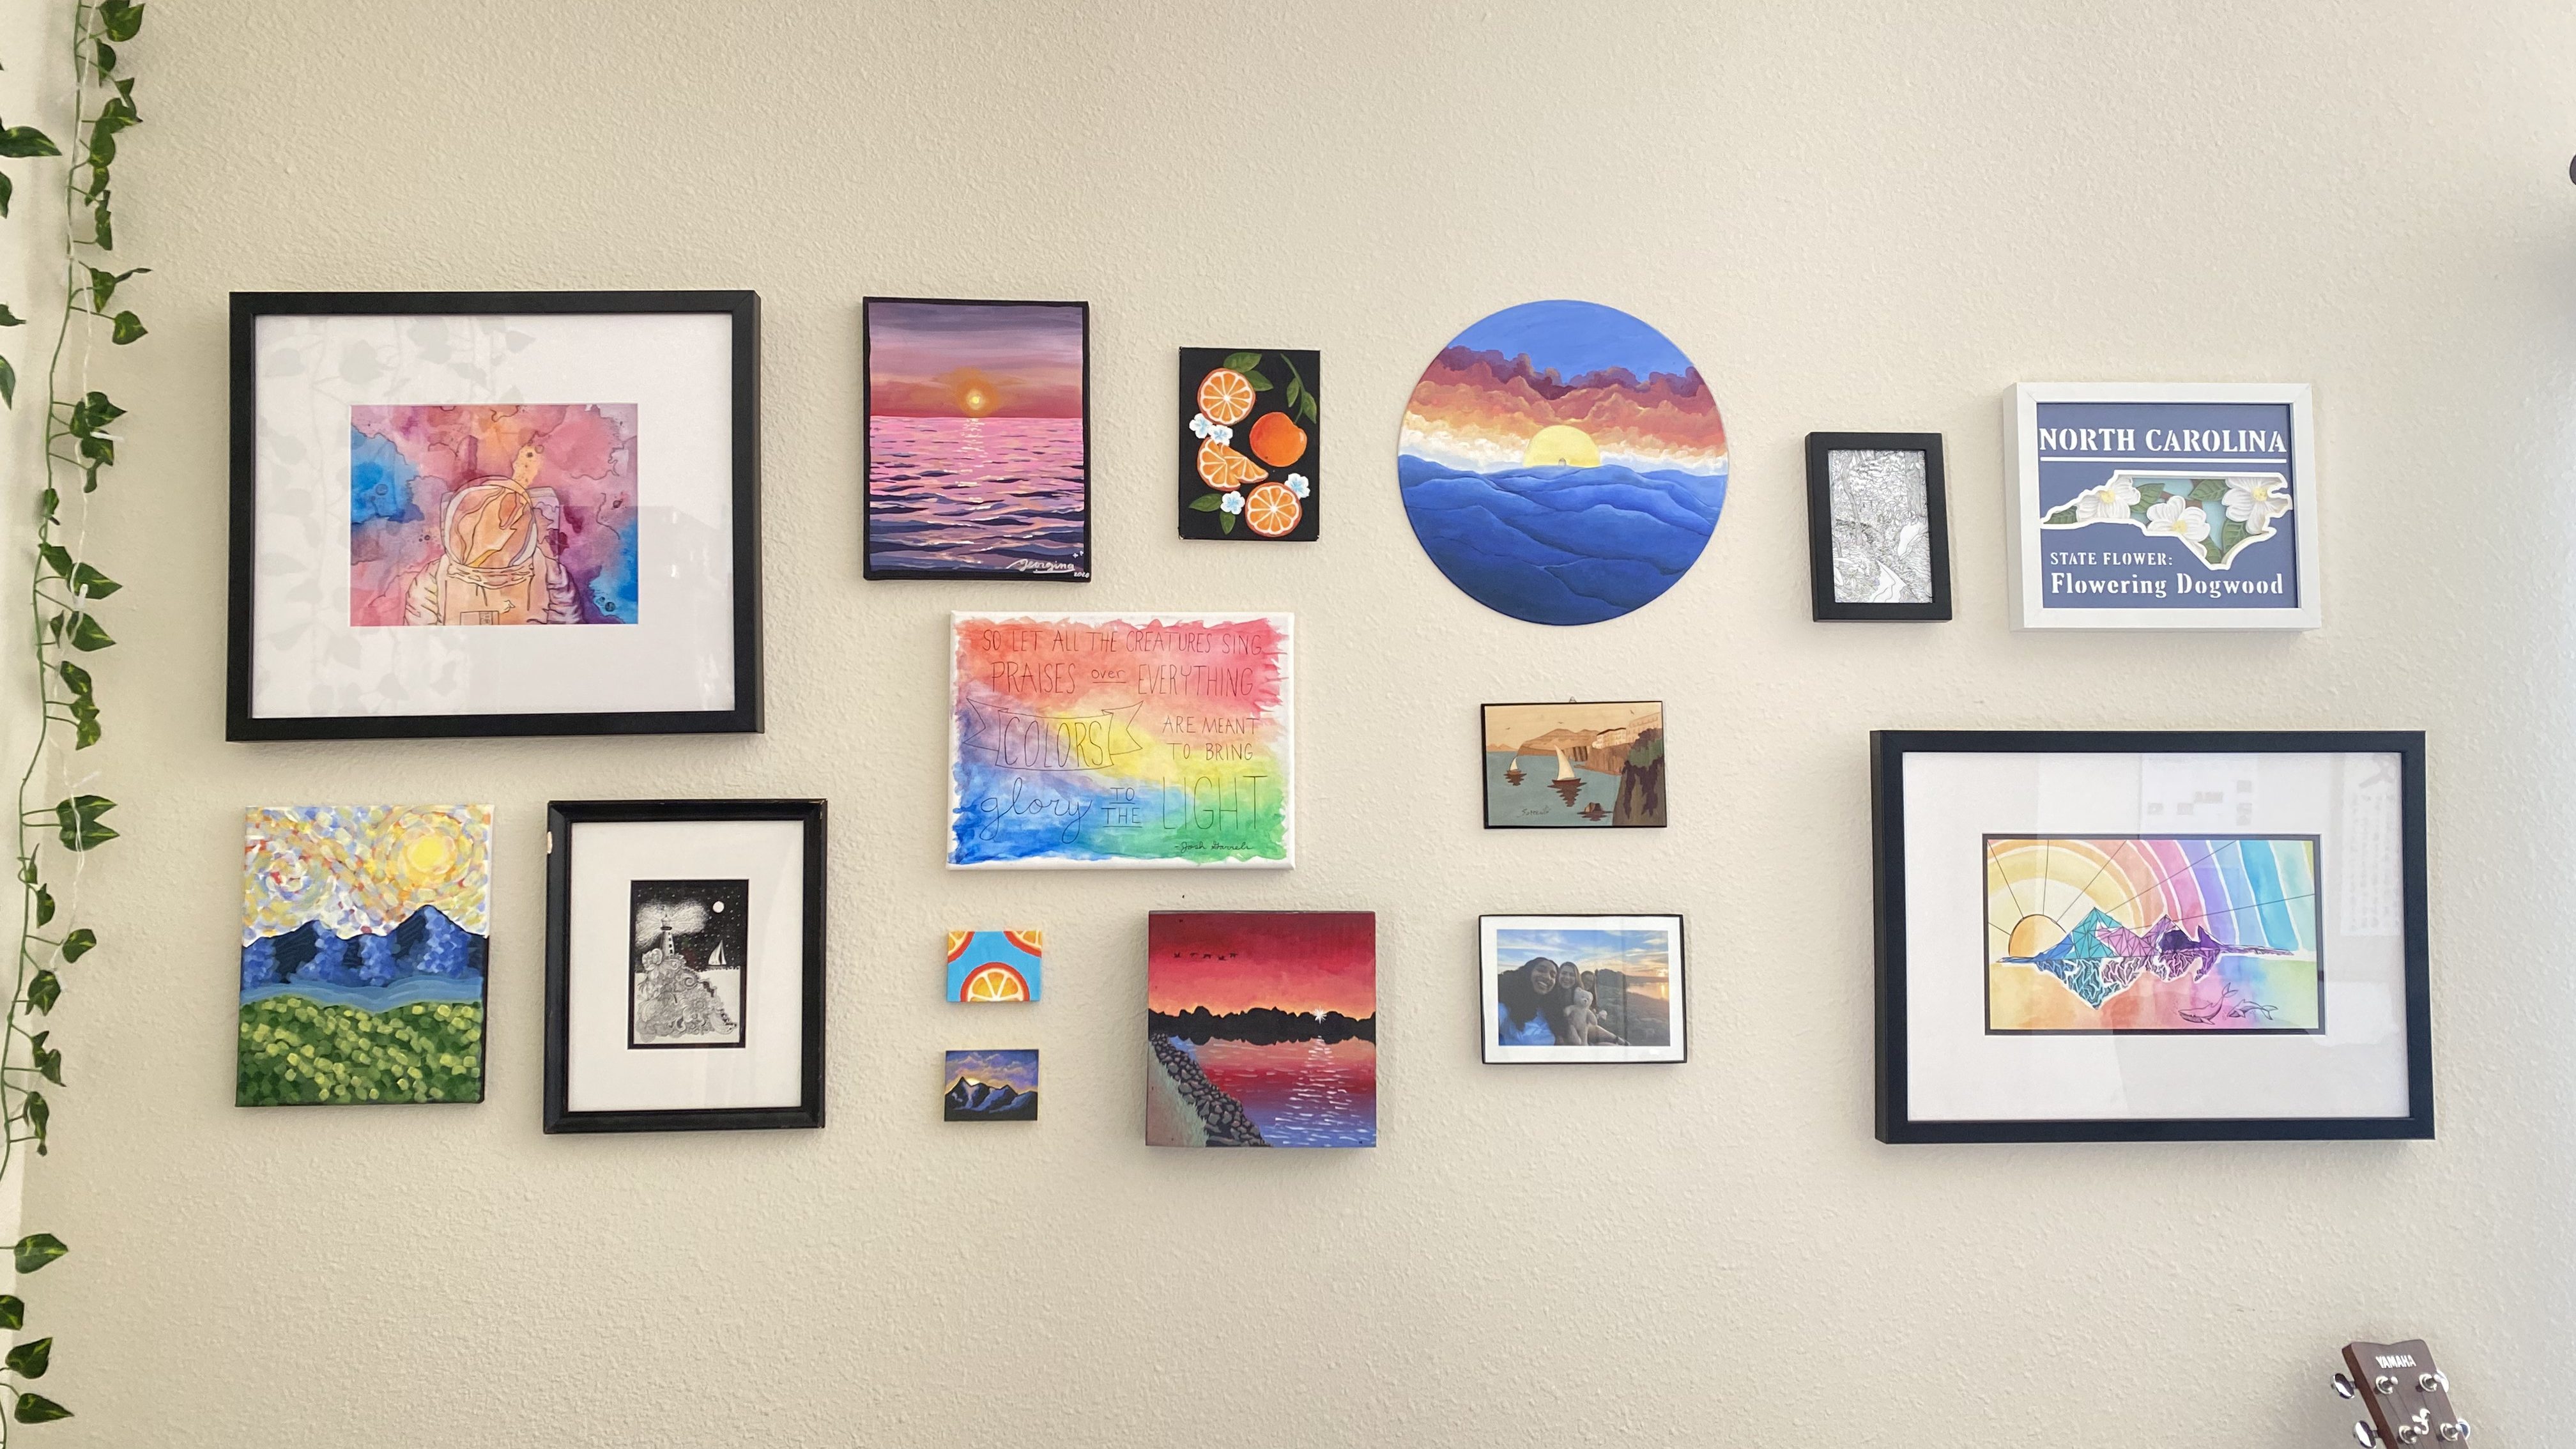
Creating this gallery wall was a fun project and I am happy with how everything came together. I have even been able to add a few new art pieces to the wall since the original layout.
If you’d like to watch me set this up, check out my youtube channel. Let me know if you try this project at home!

Leave a comment